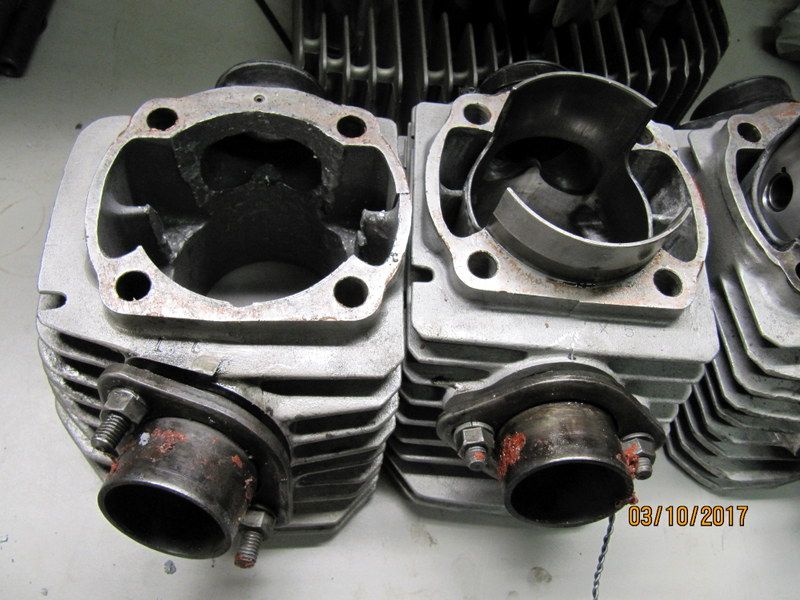

The base gaskets lined up almost exactly with the transfer openings in the cylinders.
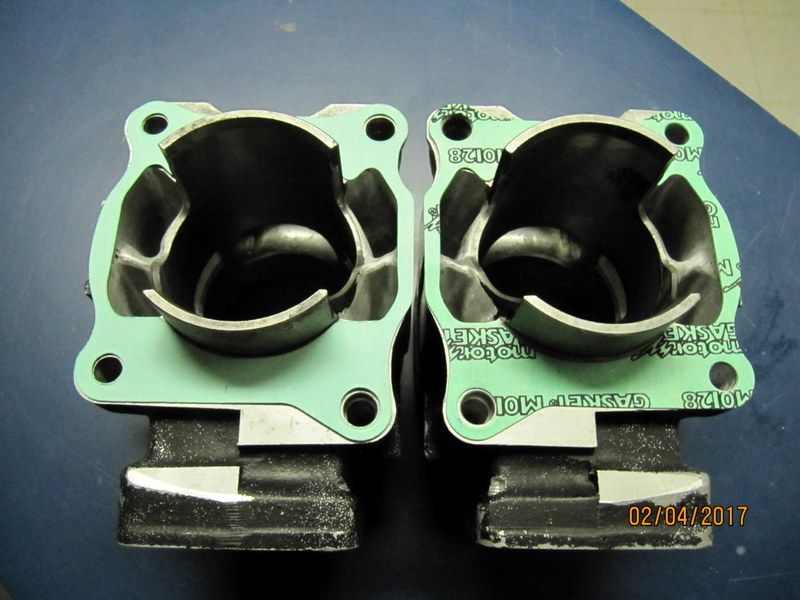
The transfer openings in the upper engine case are much smaller.
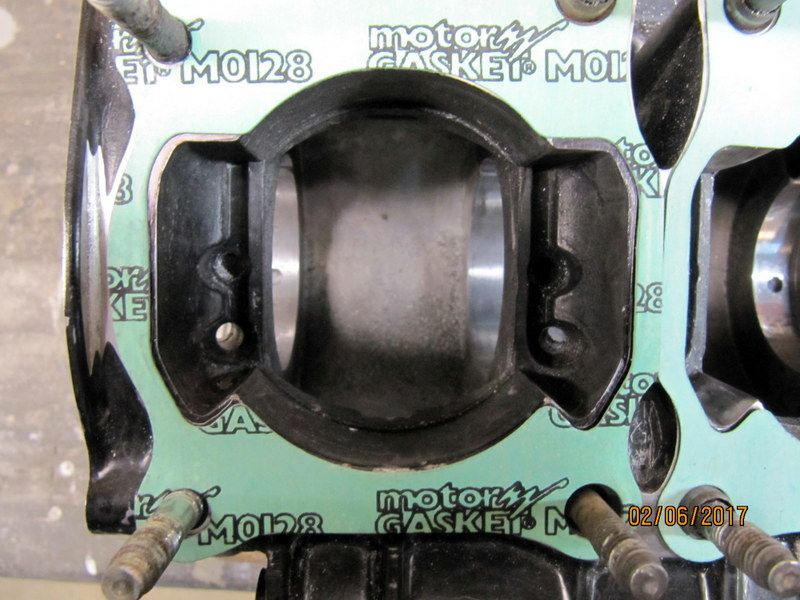
After a few hours of gringing and sanding, the upper case openings are now matched to the transfers in the cylinder.

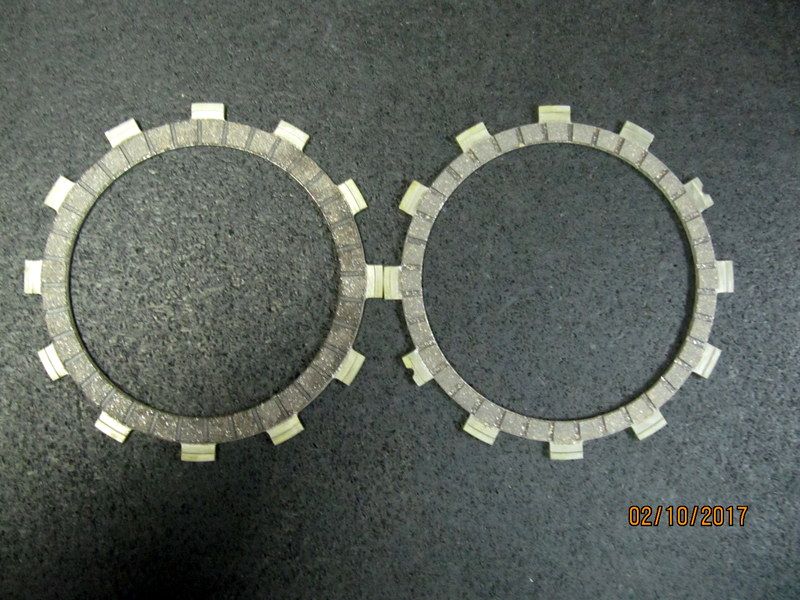
According to the parts fiche at Boats.net, the RZ350 and the Banshee use the same fiber clutch plates.
However, EBC lists different clutch kits for the RZ and Banshee.
EBC CK2240 - RZ350
EBC CK2279 - Banshee
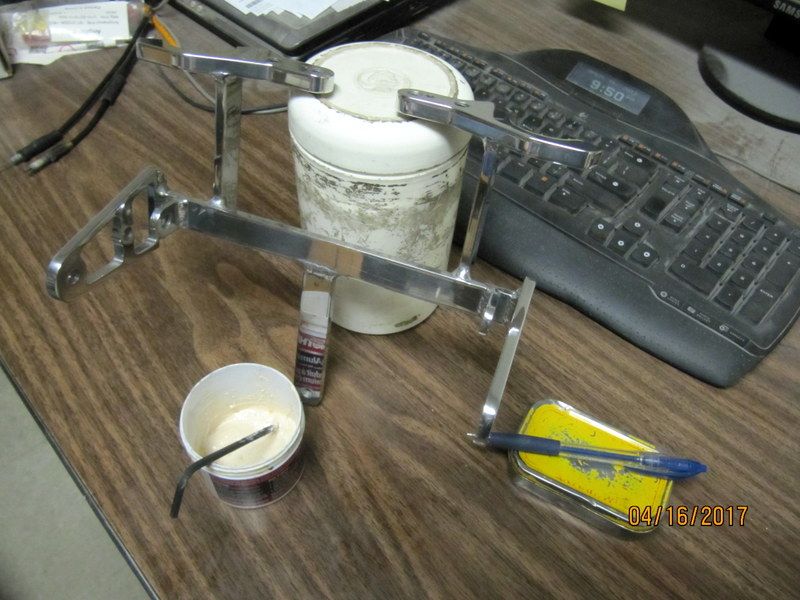
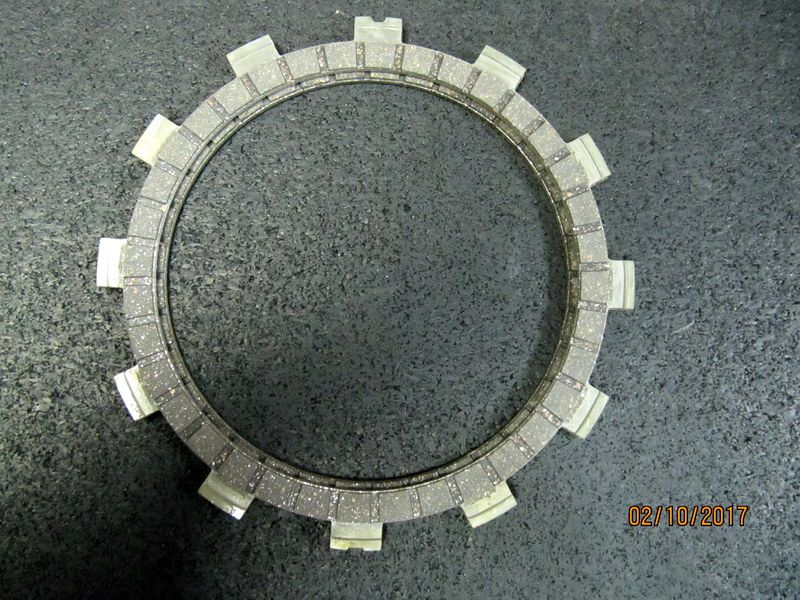
I happened to have both clutch kits at the shop, so I opened them up to have a look.
It turns out that the Banshee fibers have more surface area than the RZ, so I'm going to use the Banshee clutch in the new engine.
A few weeks ago I had to push the bike out of the garage, so that I could get a new hot water heater into the basement.
It was around 50*F that day, and I thought about going for a short ride.
Then I almost dropped the bike on the slippery ice in the driveway, and said f*ck that, as much as I'd like to ride, it's not worth the risk.
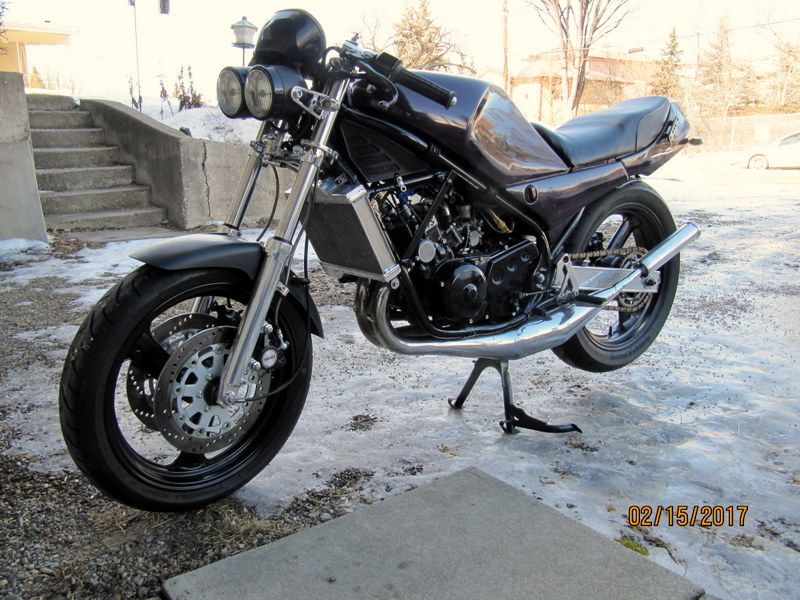
Pushed the bike back into the garage, and went back to work on the motor.
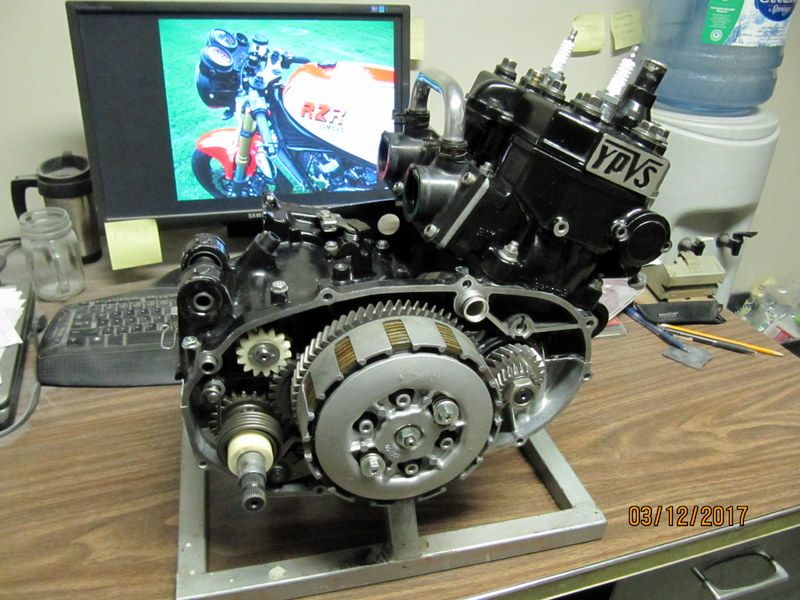
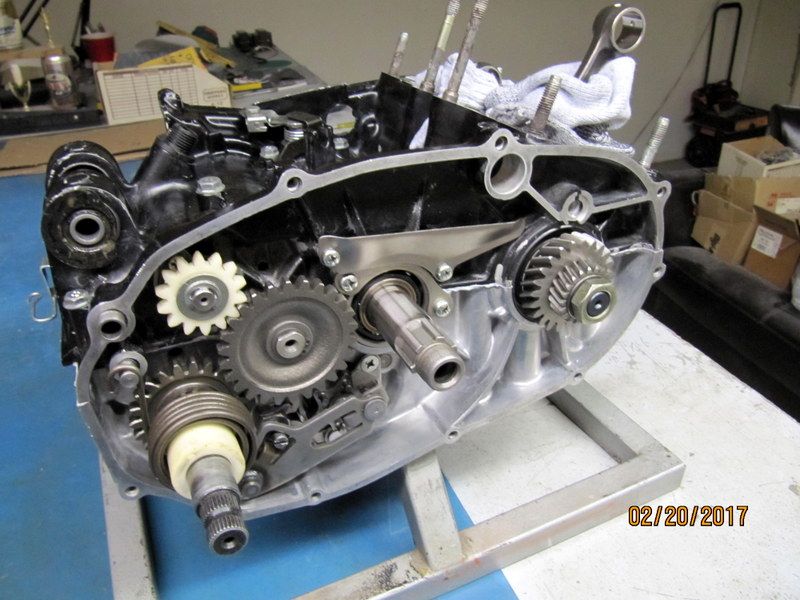
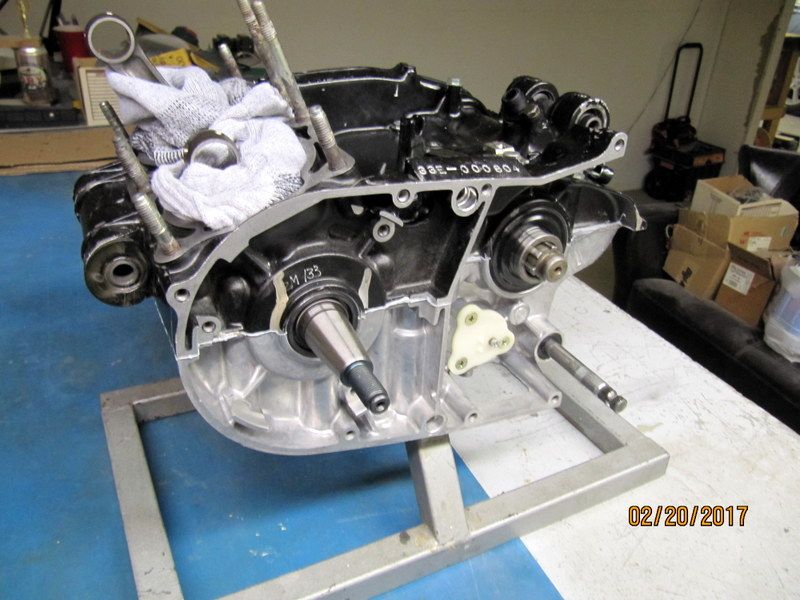
The bottom end is all back together with the new crank and new oem seals.
The paint on the upper engine case is not too bad.
There are a few marks and scuffs on it, but I didn't bother to paint it.
I'm not a very good painter and I figured the oem paint would look better than the crap paint job that I would do.
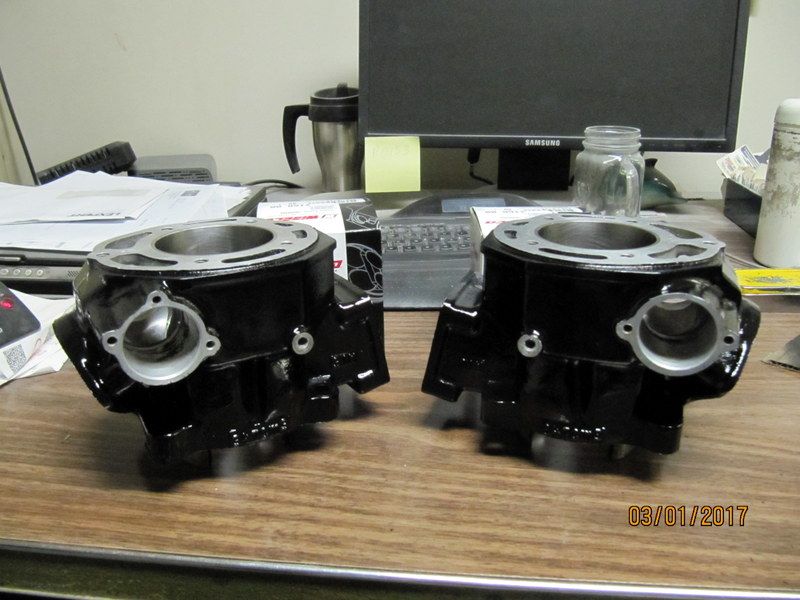
I did paint the cylinders. They've been bored and honed and are ready to be installed.
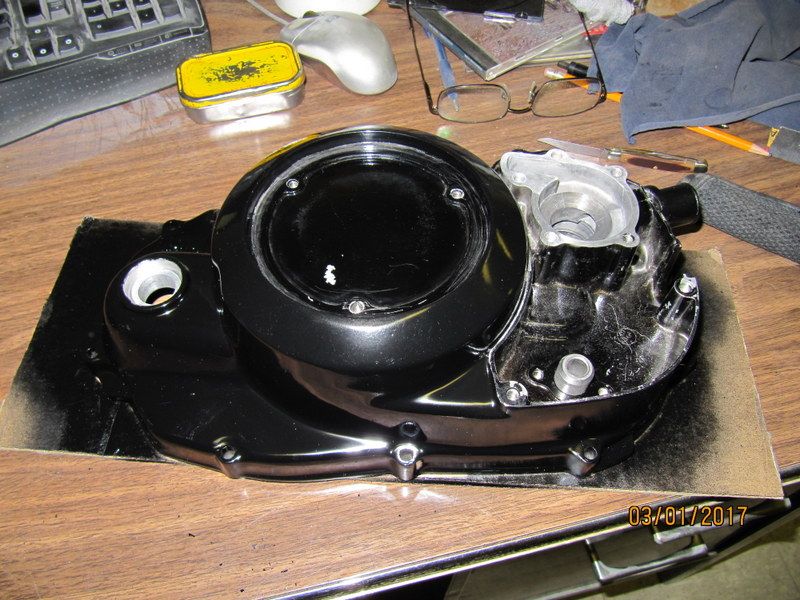
The clutch cover that I have was all beat to hell. Lots of scratches and chips in the paint. So I had to paint it.
The paint went on a lttle thick, and you can still see a few small marks in it.
It's definitely not mint, but it's way better than it was.
Now that I've finished all the dull, tedious work, it shouldn't take very long to finish putting it back together.
- Install oil pump, water pump and new seals in the clutch cover
- Install new pistons and cylinders
- Install the head and check the squish
- Install new reeds and the intake boots
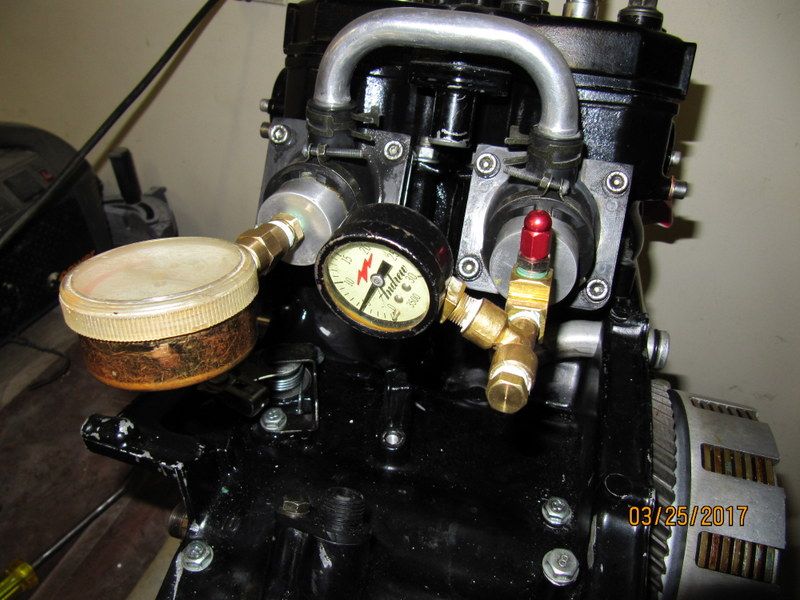
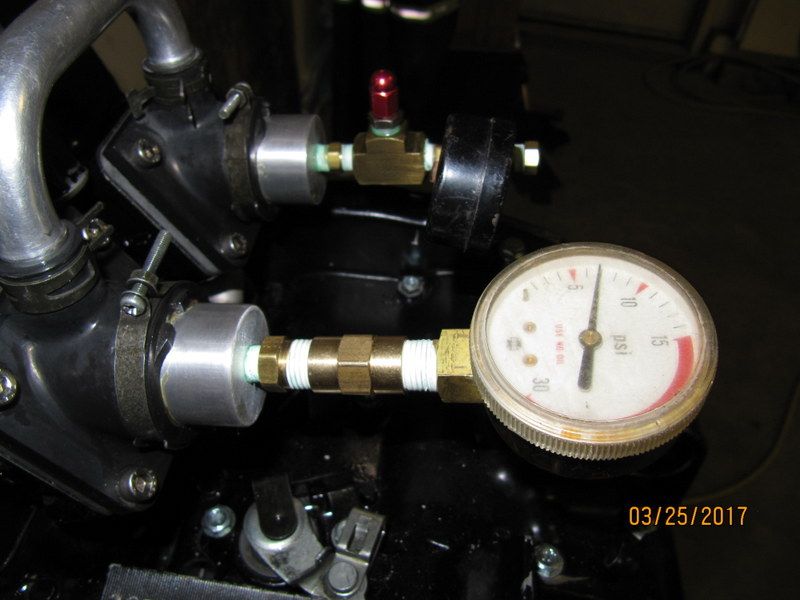
- Pressure test.
And if it passes, drop it into the bike.