Got a customizing or restoration project? Discuss it here
Moderator: rztom
-
Smoker
- Posts: 4797
- Joined: Sun Mar 23, 2008 8:08 pm
#346
Post
by Smoker » Thu Oct 05, 2017 5:58 am
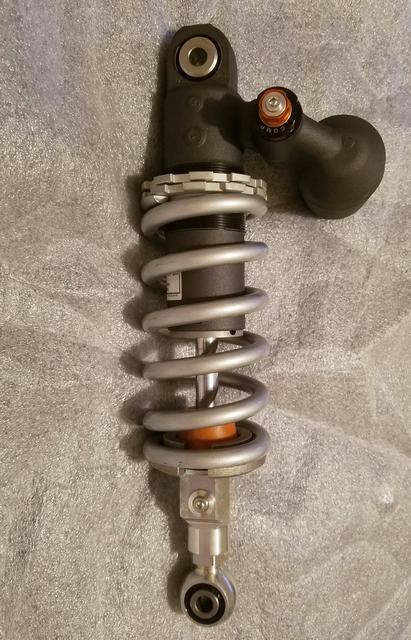
Got the shock. Looks new, except for scratches on the spring.
I read a post by someone that said the shock length can be shortened internally by any good suspension shop.
But the shock needs to be shortened almost an inch. There's only 1.750 inches from the body to the bump stop. If the shock is shortened internally, there would only be about .750 inch of travel. Plus the spring won't fit anymore.
Tomorrow, I'll look closely at the lower adjustable eye to see how much can be modified.
Last edited by
Smoker on Sat Jul 14, 2018 12:40 pm, edited 1 time in total.
-
RuZty
- -----

- Posts: 3584
- Joined: Fri Oct 03, 2003 11:11 pm
- Location: Southern Ontario, Canada
#347
Post
by RuZty » Thu Oct 05, 2017 8:16 pm
You can probably cut the jam nut down to half thickness and shorten the lower rod end thread to get it to screw in all the way. I would try this before spending money on a suspension shop, if you have to spend a few hundred to make it work it kind of defeats the purpose. You also have some preload left to come out of that if you need it to sag a bit more when you are on it. If you install it and the rear wheel clears the ground by a quarter inch or more you will be in the ball park.
-
Smoker
- Posts: 4797
- Joined: Sun Mar 23, 2008 8:08 pm
#348
Post
by Smoker » Sat Oct 07, 2017 10:37 am
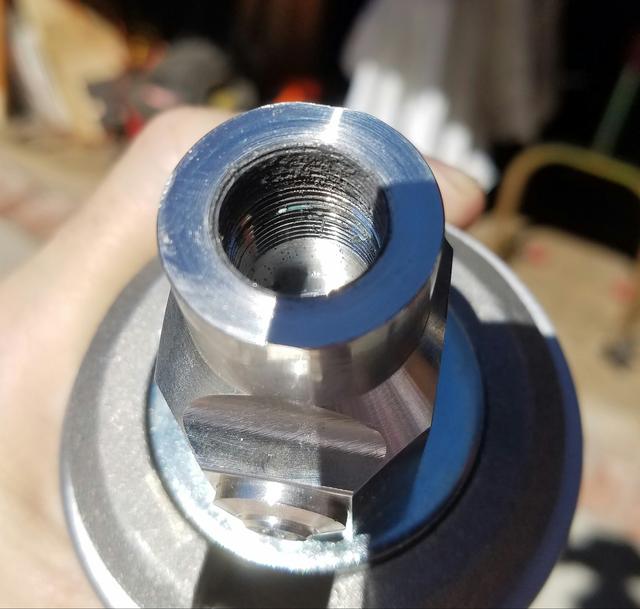
Thought I could just loosen the locknut and spin off the lower eye mount.
Oh, hell no. It was locktighted in like a bitch. Threads don't look great.
Wonder how much a bottom tap & die in this size would cost?
Last edited by
Smoker on Sun Apr 22, 2018 1:15 pm, edited 1 time in total.
-
RuZty
- -----
- Posts: 3584
- Joined: Fri Oct 03, 2003 11:11 pm
- Location: Southern Ontario, Canada
#349
Post
by RuZty » Mon Oct 09, 2017 2:58 pm
I wouldn't take the nut off until you clean up the threads (sorry if I'm pointing out the obvious), a metric thread file will do the job if used carefully. If you are going to run it in deeper that damaged bit won't matter anyway. Get a round wire brush (preferably brass bristles) to clean out the female threads before you splurge on a tap for it, you might have to spend $20-30 on a bottoming tap in that size, but flip side is now you can tap it all the way down.
Anything that feels like it has loctite on is simplified by the application of heat, doesn't take a lot, but it will be hot to the touch.
-
Smoker
- Posts: 4797
- Joined: Sun Mar 23, 2008 8:08 pm
#350
Post
by Smoker » Mon Oct 09, 2017 3:56 pm
RuZty wrote:I wouldn't take the nut off until you clean up the threads (sorry if I'm pointing out the obvious), a metric thread file will do the job if used carefully. If you are going to run it in deeper that damaged bit won't matter anyway. Get a round wire brush (preferably brass bristles) to clean out the female threads before you splurge on a tap for it, you might have to spend $20-30 on a bottoming tap in that size, but flip side is now you can tap it all the way down.
Anything that feels like it has loctite on is simplified by the application of heat, doesn't take a lot, but it will be hot to the touch.
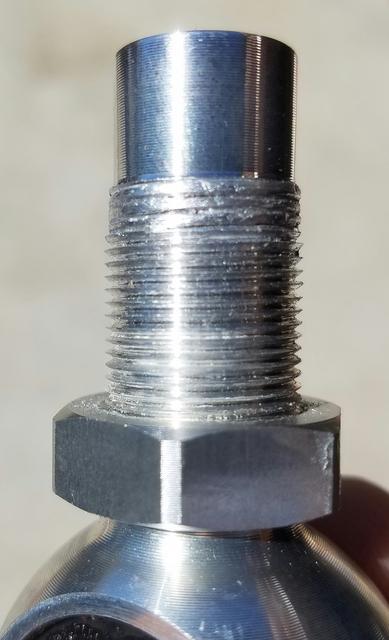
Quick note on the threads inside the shock.
It's fully threaded. There's more space above the threads, but you can't add more threads because the diameter is larger. No reason to get a bottoming tap.
-
Smoker
- Posts: 4797
- Joined: Sun Mar 23, 2008 8:08 pm
#351
Post
by Smoker » Fri Oct 13, 2017 4:50 pm
New front brake lines arrived. Looks like the'll fit (after raising the handlebar).
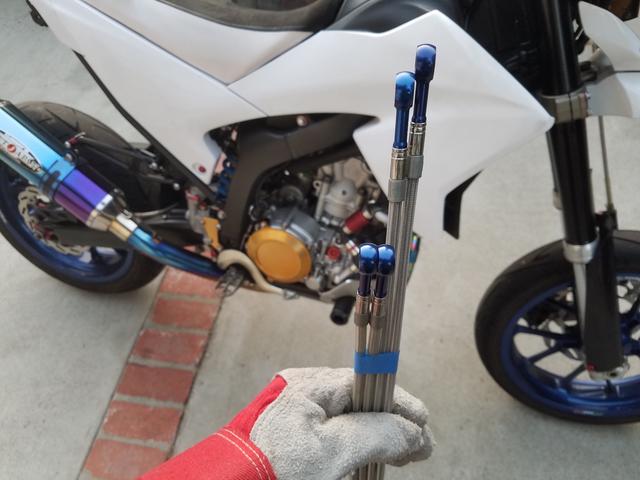
Next, need to get the new rear shock installed and fix the front forks. Forks are topped-out and are very hard to compress after installing the new aftermarket fork caps. Not sure what's happening, yet.
Last edited by
Smoker on Sun Apr 22, 2018 1:15 pm, edited 1 time in total.
-
Smoker
- Posts: 4797
- Joined: Sun Mar 23, 2008 8:08 pm
#352
Post
by Smoker » Sat Oct 28, 2017 2:01 am
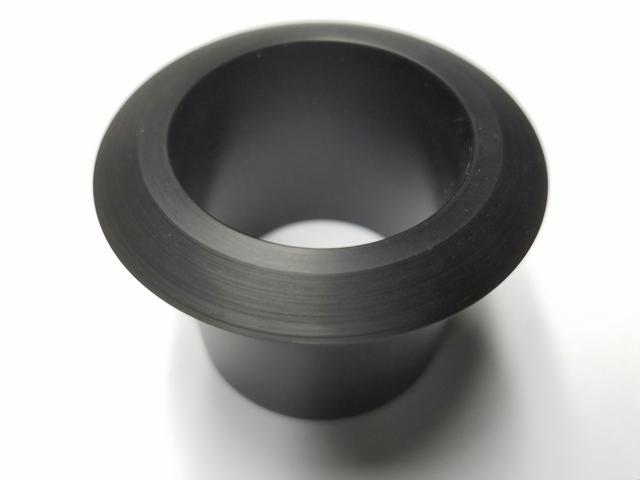
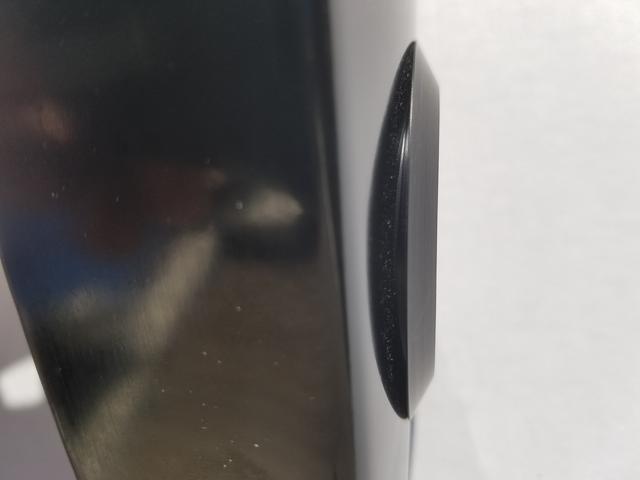
Machined ignition surround out of delrin.
Gonna try to inlay it into a side panel. Panel isn't flat, so it'll be interesting.
Last edited by
Smoker on Sun Apr 22, 2018 1:15 pm, edited 1 time in total.
-
two-stroke-brit
- -----
- Posts: 1701
- Joined: Fri Nov 22, 2013 10:49 pm
- Location: Houston texas
#353
Post
by two-stroke-brit » Sat Oct 28, 2017 9:02 pm
you may have to make a washer shaped to suit the uneven surface.
i found its easier to do than try to surface the underside of the surround
post your solution.
mark
350LC,Athena 392 big bore,stock porting,swiss cheese air box,stock reeds,spec11 pipes.(now TSA big bore pipes)
She might not be pretty but she will always be a fun ride
1982 YAMA RD350LC
98KDX 220R
1967 TRIUMPH TIGER
2001 TRIUMPH TT600
-
Smoker
- Posts: 4797
- Joined: Sun Mar 23, 2008 8:08 pm
#354
Post
by Smoker » Sat Oct 28, 2017 11:06 pm
I was thinking of just throwing a little plastic filler where needed.
![[smilie=dunno.gif]](./images/smilies/dunno.gif "dunno")
-
Smoker
- Posts: 4797
- Joined: Sun Mar 23, 2008 8:08 pm
#355
Post
by Smoker » Tue Oct 31, 2017 7:26 am
Still working on that damn shock.
Trying to shorten it up as much as possible, without welding.
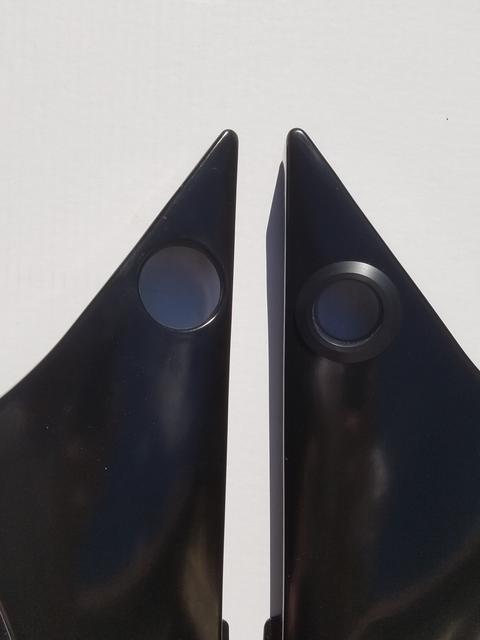
Had a little time today to work on the side panel. Chopping tomorrow.
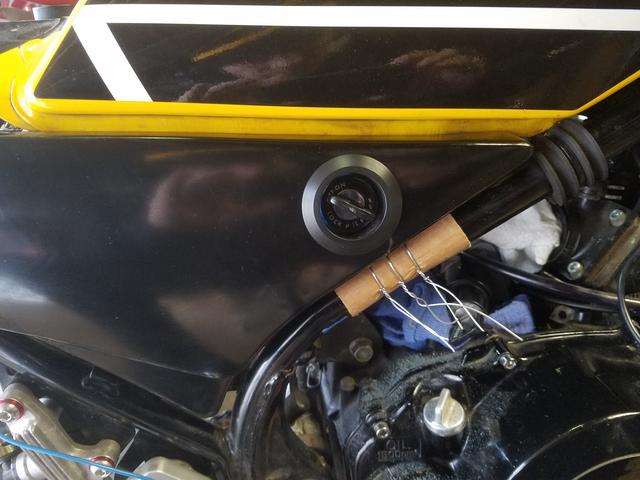
Wanted to match the left side cover hole, but the post is behind the hole. On the right cover, the post is in a different place, and needs to be in front of the new hole.
Left side:

Right side:
Last edited by
Smoker on Sun Apr 22, 2018 1:16 pm, edited 2 times in total.
-
Smoker
- Posts: 4797
- Joined: Sun Mar 23, 2008 8:08 pm
#356
Post
by Smoker » Sat Nov 04, 2017 6:11 am
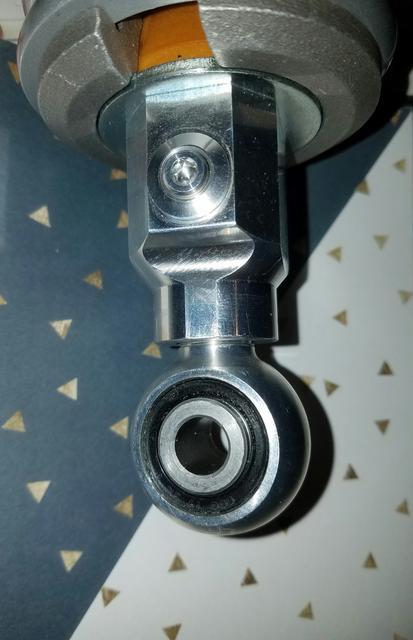
Here's where I'm at with the R1 shock.
Cleaned up the shock and eye threads. Cut down the eye length to screw all the way to the end of the threads (with the lock nut on). Still too long.
Cut down the shock 4mm. Still plenty of threads. Got rid of the locknut and cut down the eye until it bottoms against the shock, close to the end of the threads (with the same orientation as the upper eye). Will locktite after fitting. Eye-to-eye measurement now 300mm.
Will see how it fits soon. Not sure whether to modify the shock eyes to fit the OEM hardware, or make new hardware. Whatever's easier for sure.
Last edited by
Smoker on Sun Apr 22, 2018 1:16 pm, edited 1 time in total.
-
hondaror
- Posts: 2828
- Joined: Mon Mar 03, 2014 8:44 pm
- Location: Alberta, Canada
#357
Post
by hondaror » Sat Nov 04, 2017 3:11 pm
Good work!
Rory
2 1984 RZ350s
1985 RZ350
9 1986-1990 RZ350s
2000 ST2
2005 749
2005 749 with 999 engine
-
Smoker
- Posts: 4797
- Joined: Sun Mar 23, 2008 8:08 pm
#358
Post
by Smoker » Sat Nov 04, 2017 6:30 pm
hondaror wrote:Good work!
Thanks.
I should have said- eye center-to-eye center is 300mm.

-
Smoker
- Posts: 4797
- Joined: Sun Mar 23, 2008 8:08 pm
#359
Post
by Smoker » Sat Nov 04, 2017 6:30 pm
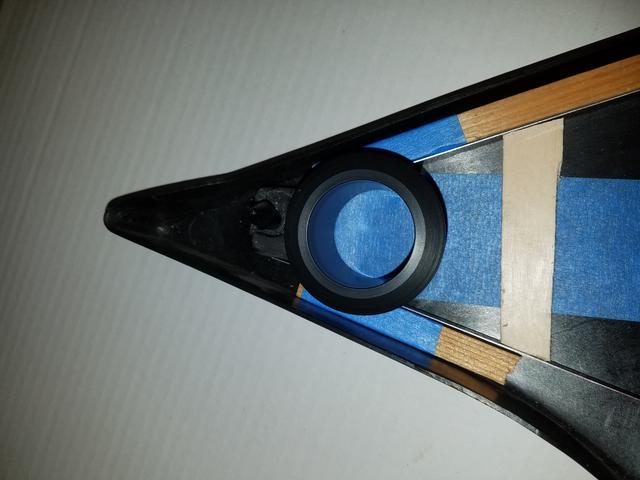
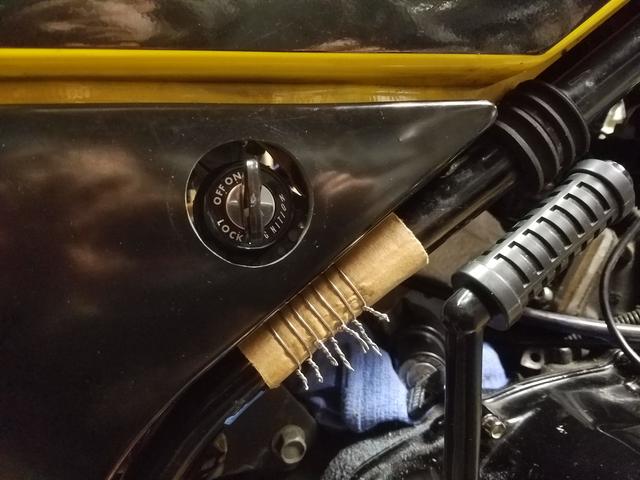
Aligned the panel holes the best I could. Fortunately, they're on opposite sides of the bike.

Planning to use some appropriate filler on the gaps before the side covers are painted.
Anyone know the best type of adhesive for delrin to polyurethane?
Anyone know the best type of filler for polyurethane semi-flexible panels?
Last edited by
Smoker on Sun Apr 22, 2018 1:17 pm, edited 1 time in total.
-
Smoker
- Posts: 4797
- Joined: Sun Mar 23, 2008 8:08 pm
#360
Post
by Smoker » Thu Mar 22, 2018 12:34 pm
Haven't found any way to hold the ignition bracket in position for welding.
Need to be able to put on and remove the side cover to check the position.
Will keep trying.
Last edited by
Smoker on Sun Apr 22, 2018 1:17 pm, edited 1 time in total.

